Plusea

autodesk autocad mep 2016 autodesk civil 3d 2024 autodesk autocad mechanical 2020 autodesk navisworks manage 2022 autodesk trunest contour 2018 autodesk inventor 2016
Just another WordPress weblog

+c
calendar
publications
contact
everything
in process
2023
2022
2021
2020
2019
2018
2017
2016
2015
2014
2013
2012
2011
2010
2009
2008
2007
2006
2005
2004

walks

PLAYING TOGETHER
BECOMING MATERIAL
A WEARABLE STUDIO PRACTICE
ANATOMY OF A PIN
MAKING AS A MEANS OF EXPLORING
MAKE YOUR TECH AND WEAR IT TOO
MAKE TOOLS, NOT PARTS
TRACES WITH ORIGIN
ROOM FOR SPACE
COMMISSIONS

weeds

TEACHING
WRITING
KOBAKANT
How To Get What You Want
A Kit-of-No-Parts
Tools We Want
A Wearable Studio Practice
Swatch Exchange
mi.mu + dev blog
Mastodon
Flickr
YouTube
Riot
Instructables
GitHub
Diaspora

Controlling the Arm (20.11.2011) (2012)

Need a computer running windows or a windows virtual machine (VM).
Download RoboPlus from robotis.com >> http://www.robotis.com/xe/download_en
Quick instructions for motion:
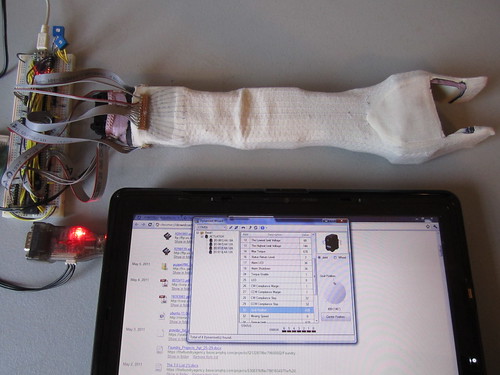
1. Assemble parts as shown below
2. Find which COM port the USB serial device was assigned to (My Computer -> Properties -> Device Manager -> Ports)
3. Start RoboPlus and choose the expert tab, then Dynamixel Wizard
4. Choose the correct com port and then autosearch for dynamixels
Once the dynamixels have been located you’ll be able to individually control their
motion using the Goal Position setting. The servos should be properly limited so they won’t go past reasonable positions, but be careful changing their position all the same.

Goal Positioning

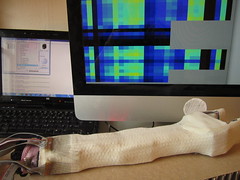
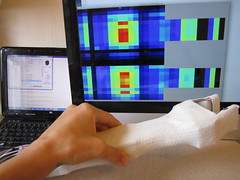
Colour Visualization and Moving Arm


Plusea is proudly powered by WordPress