Step 9: Finishing Touches (2014)
This step we will finish up the gloves. This includes: fixing the bend sensors to place. Cutting out the palm (this is optional), ….
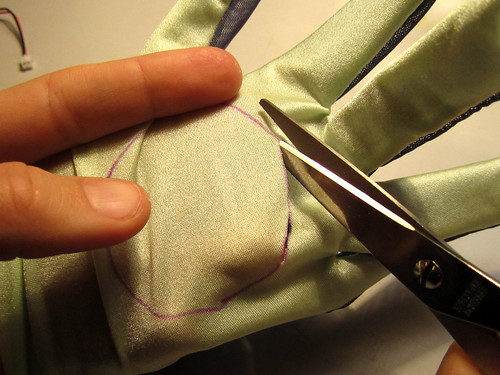
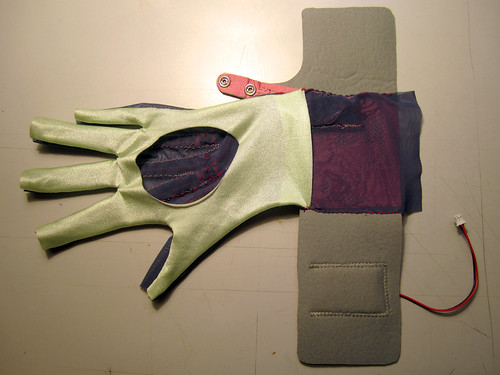
Cut Out the Palm of Hand (if you like)

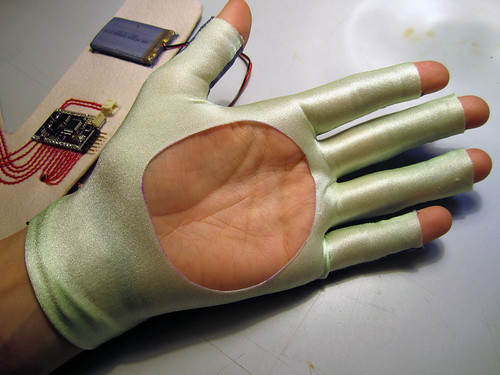
Fix the Bend Sensors in Place
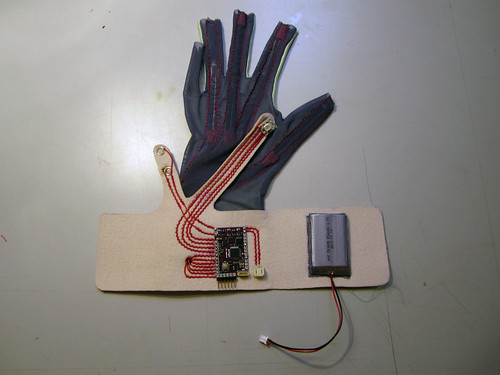
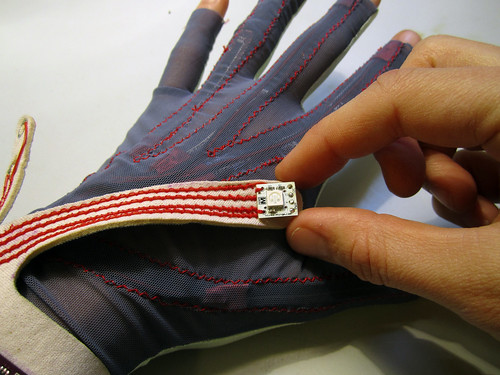
Insert the bend sensors into the veins, using the numbering system to know which one goes where:

Try on the glove to know where to align the bottom of the hand-knuckle bend sensors. Mark with a pen if necessary.


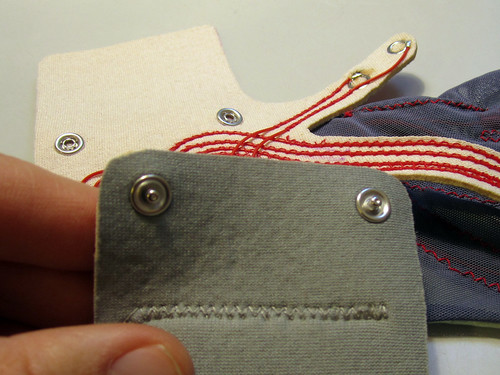
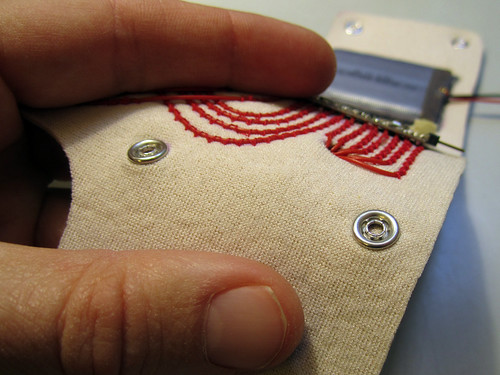
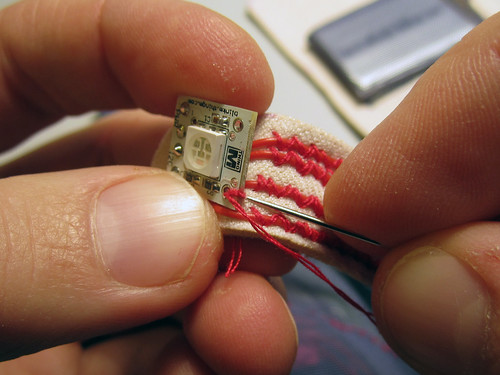
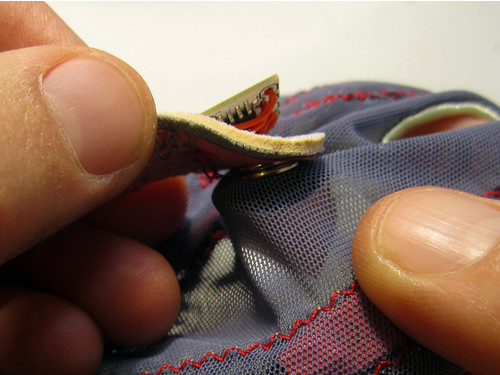
Stitch to the neoprene squares that you super-glued to one end of each bend sensor.
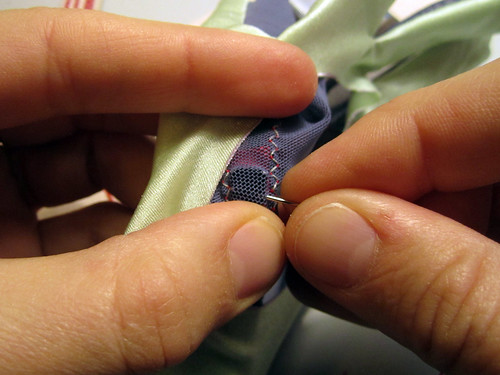
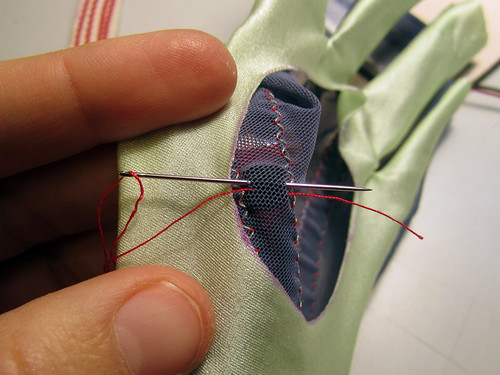
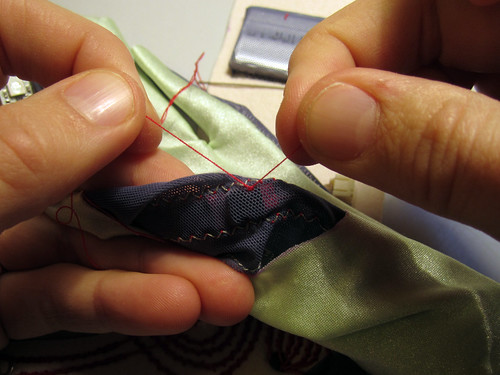
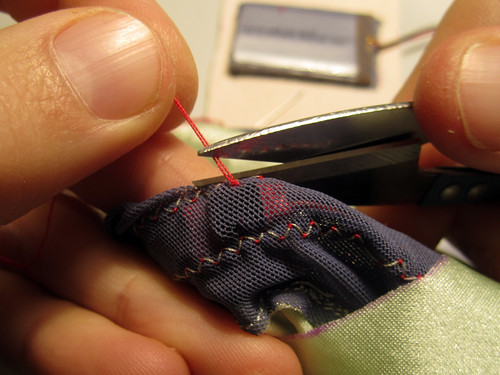

Video: Stitching the bend sensors in place
Attach the Glove to the Wristband

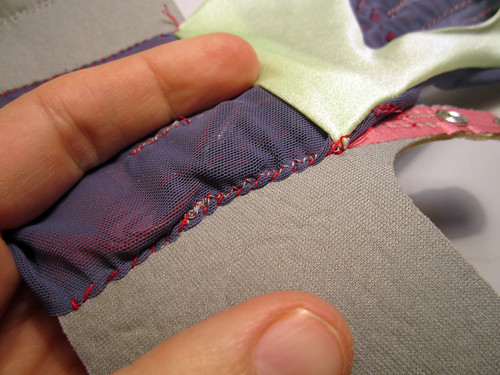

Video: Sewing one side of the glove wrist to the neoprene wrist band
Trim off excess fabric:
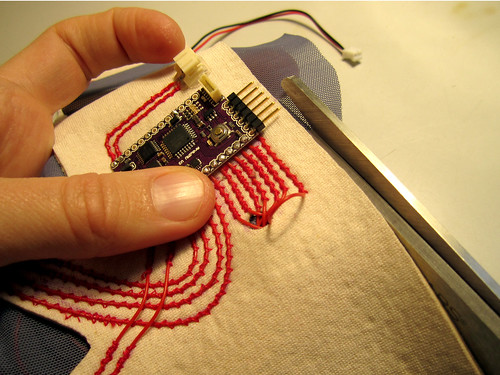
Sew RGB LED Modules Down

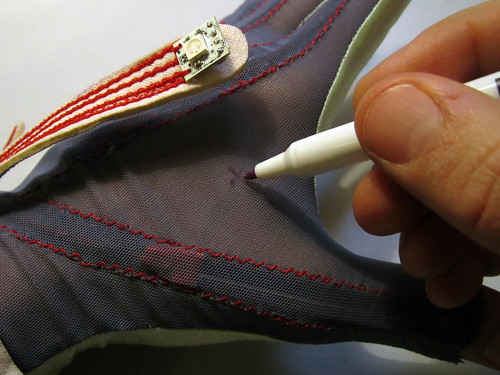
Fix RGB LED Module to Glove
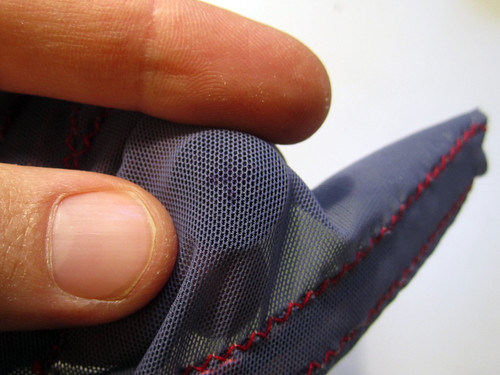
Decide on placement and mark with an X:
Becuase the stretch fabric will tear if we attach a snap directly to it and then apply any force to open and close the snap we need to add another layer of fabric as reinforcement and strain relief. Cut out a circle of neoprene about 1.5cm diameter.
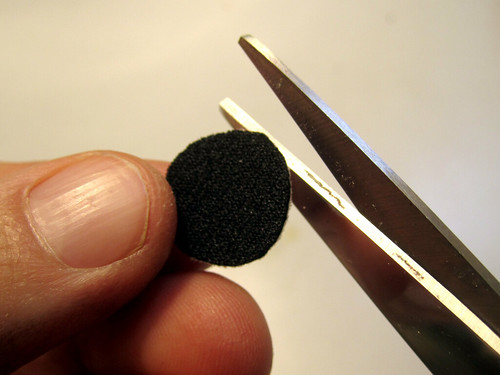
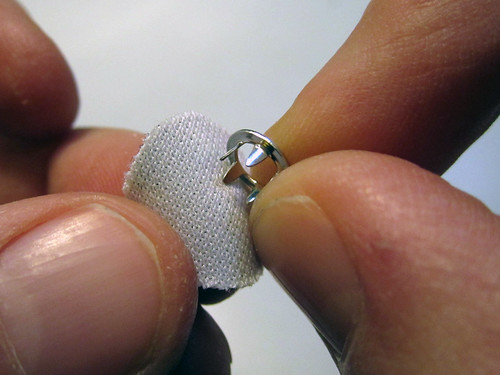
Place it behind the X and attach the snap through both materials:
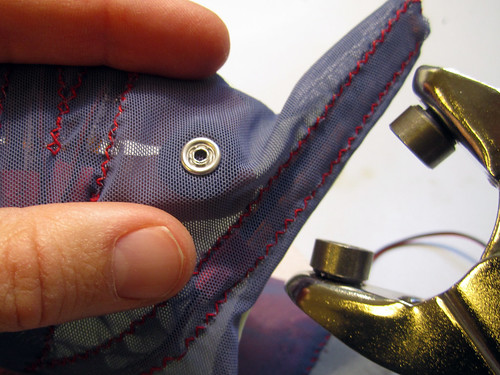
The snap not only allows the RGB module which is attached to the neoprene to be fixed to the glove, it also allows the attachment point to turn with the motion of the hand and wrist.

Snaps for Closing the Wristband
Put on the glove and test to see where best to mount the snaps for closing the wrist band. You can mount more than one row if people with different size hands/wrists will be wearing the gloves.