Version 6: Manual (2012)
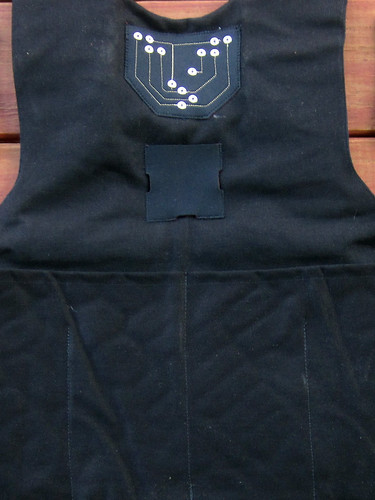
The Suit

Videos
The Arm-bands and harness still need lots of adjustment!!! So that they fit and look much better, and that the armbands don’t dangle as they do now.
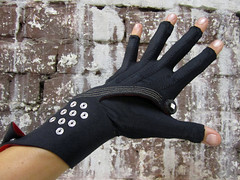
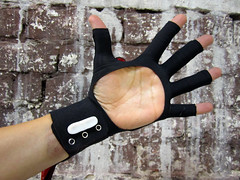
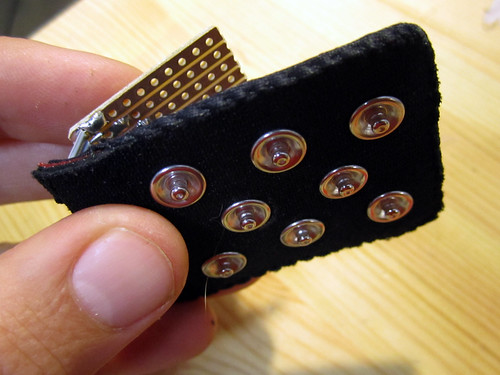
The Gloves
Back and Palm:
LED close-up:

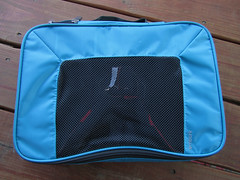
The x-IMU Pouch
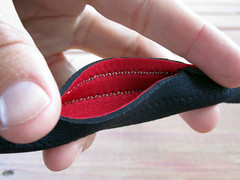
The Arm-Band

Arm-Band openings:

The Backpack
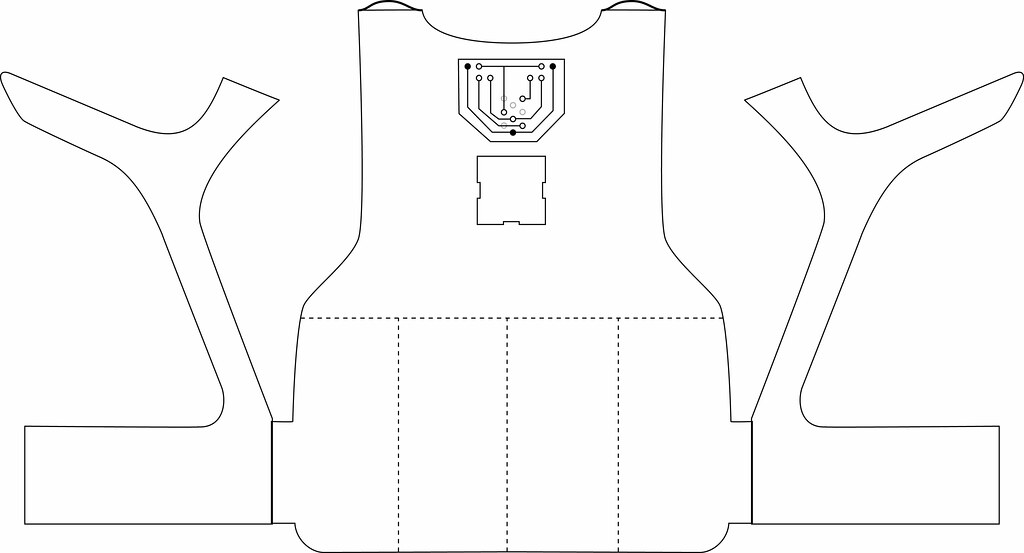
You can’t see it so well in the photo, but the backpack consists of: the backpack itself (carrier material), the back x-IMU that controls the RGB LEDs on both gloves, a panel for the LED x-IMU to connect to both Arm-bands, a pocket for the motherboard, which will also contain battery and wireless (possibly addition of another pocket/pouch), the lower half of the backpack consists of 4 deep pockets to hold the radio microphones and head pieces.
Upper-Arm-Bands
Include Upper-Arm-x-IMU pouch and sleeve for Arm-Band to go through.

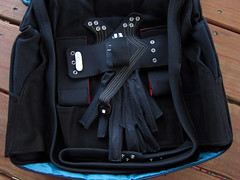
Storage Bag
How the suit is worn:
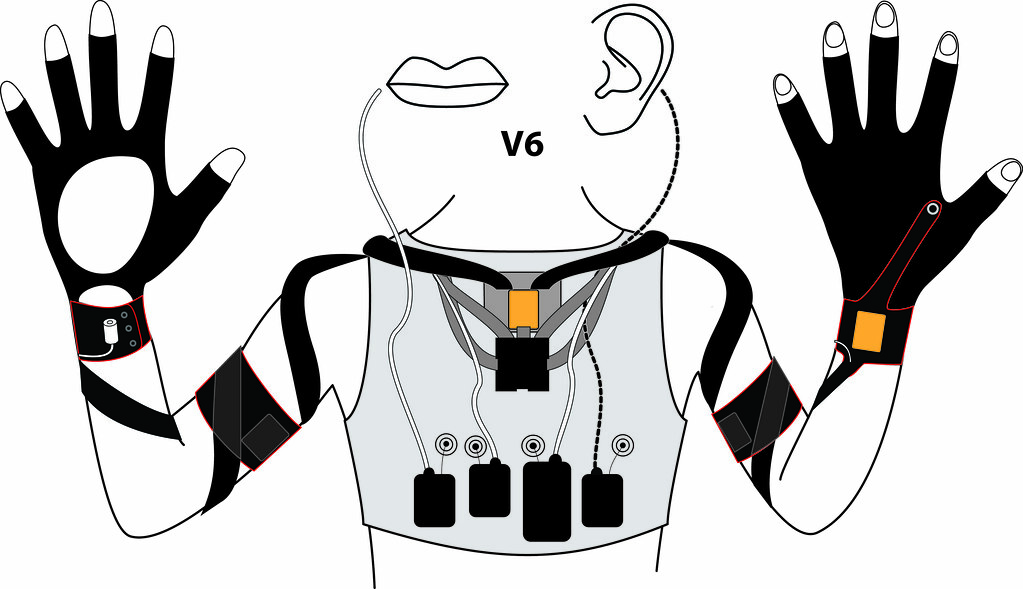
How it all connects:
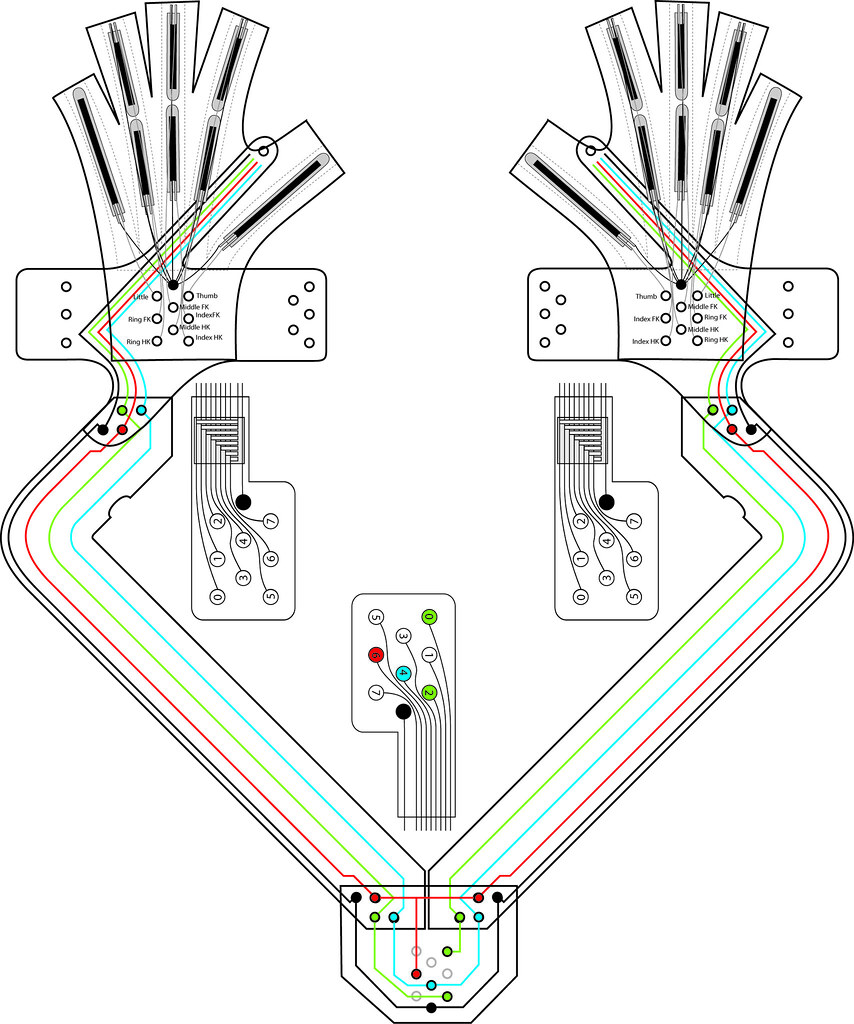
x-IMU Pouches (as seen from top):
Glove with Flex Sensors:

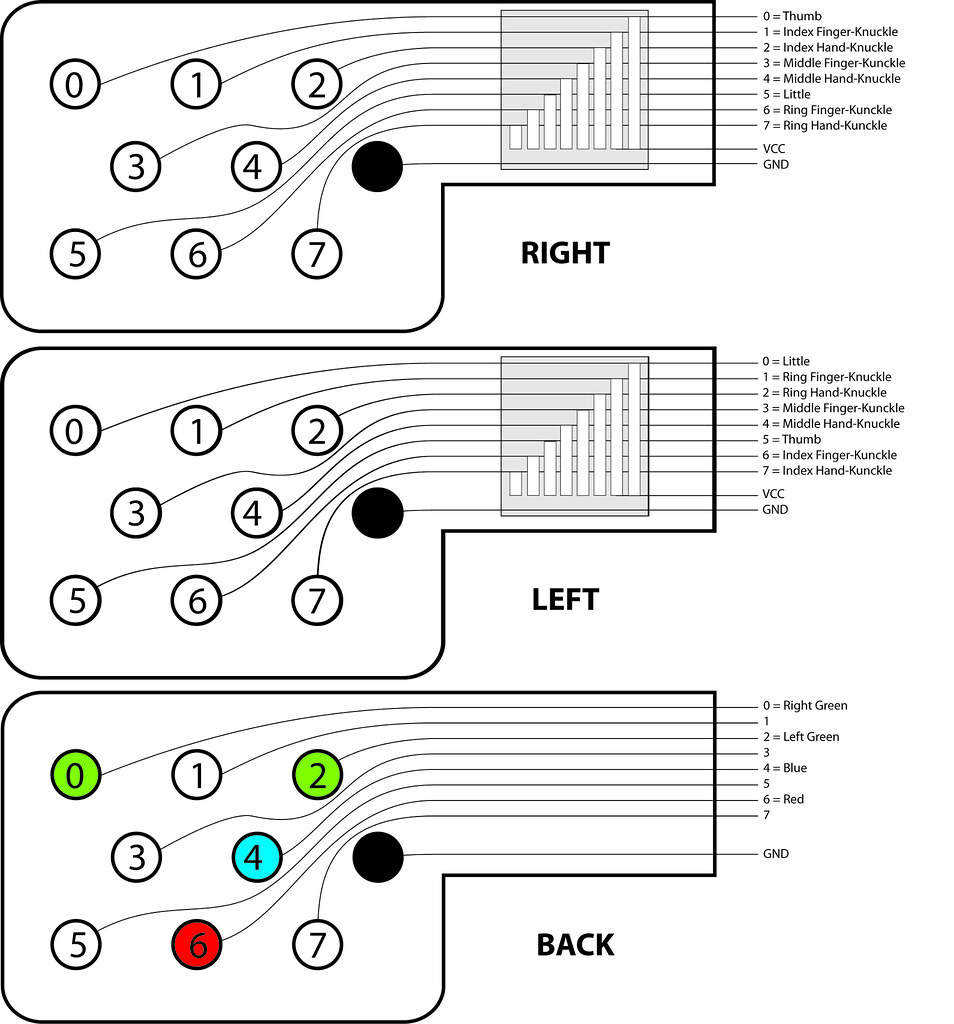
Flex Sensor Connections (as seen from top):

Arm-band with LED connections (as seen from top):
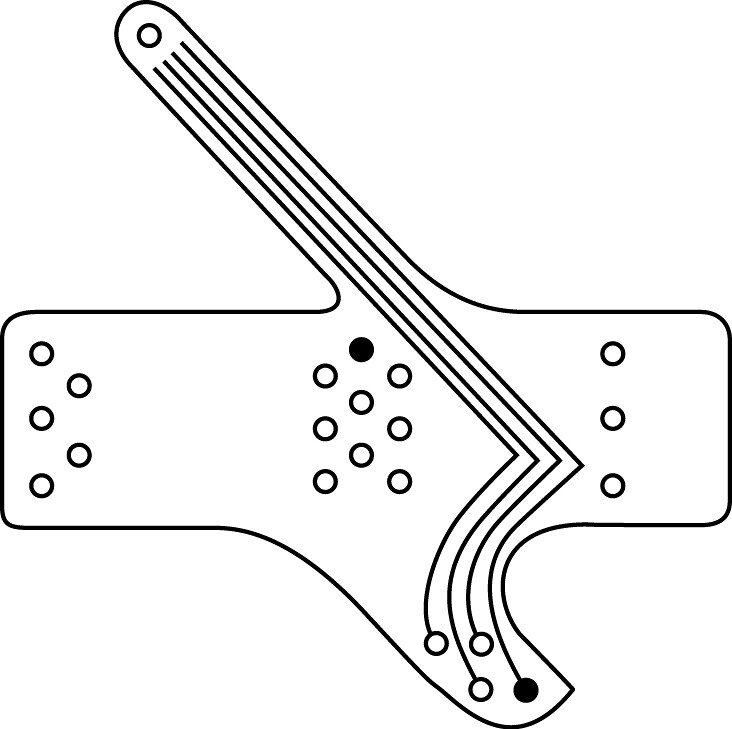
Arm-Band (folded out):

Back-Panel:

All Stencils:
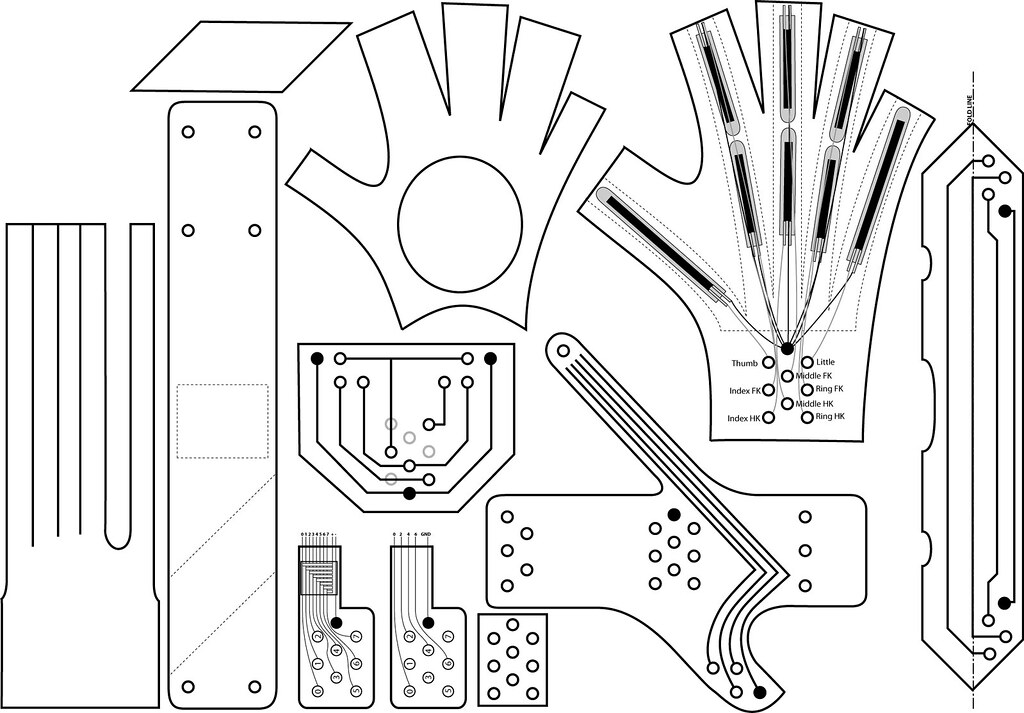
Glove and Upper-Arm-Band Stencils:


Seb’s motherboard:

Glove Pattern to-scale
Not the most professional sewing pattern…
Seam: I tried to sew a straight stitch as close to the edge as possible, probably ended up with a 2-3mm seam.
Sensor tubes: i sewed these on before sewing the bottom and top of the glove together. i used a roughly 3mm wide zig-zag stitch and did it all in one continuous go.