Step 2: Cutting the Pattern (2014)
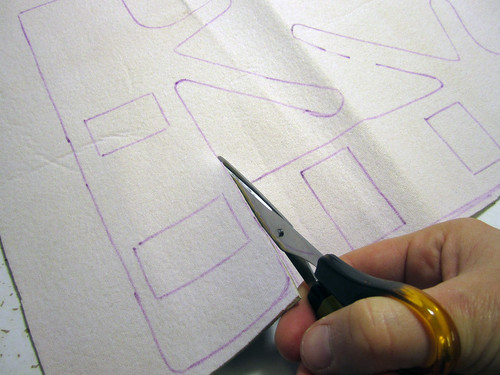
Before you can start sewing the glove you need to cut out the pattern from the different materials.
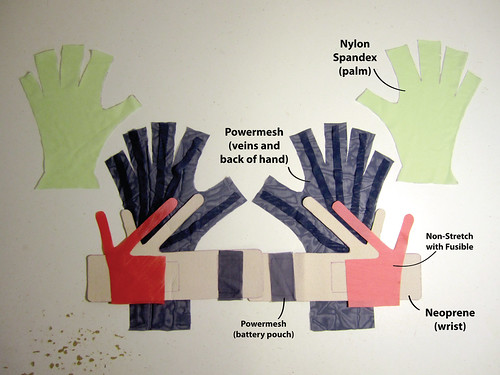
Trace and Cut the Stencils
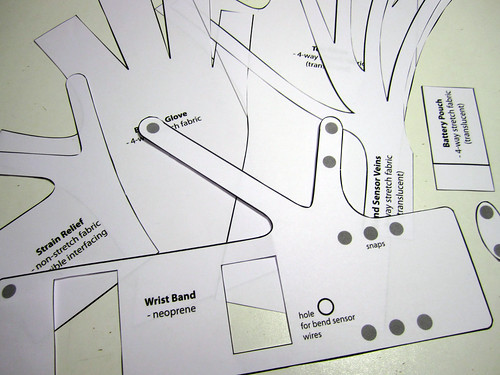
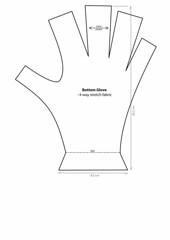
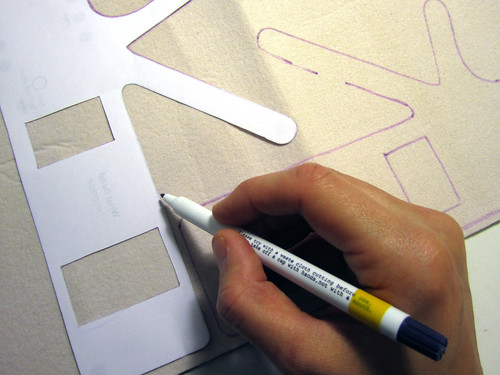
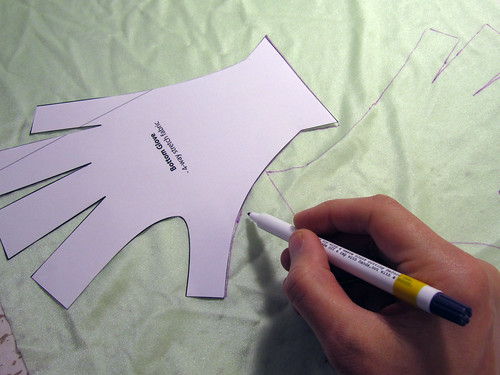
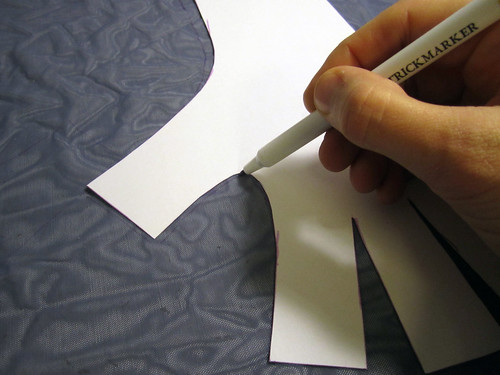
Trace the patterns to the appropriate fabric. The pattern is includes the seam allowance so you do not need to add anything to it. Simply trace it as is to the right fabrics. If the stretch fabric for the glove that you have stretches more in one direction than the other, be sure to have the stretchier direction stretch around the fingers. Not from knuckle to knuckle.
Download the PDF of full pattern and print out on A4 paper. Make sure that in your printer settings you don’t have any scaling selected. Measure the reference measurements on the pattern to make sure it has not been skewed.
>> ArduIMUGlovesPatternPDF
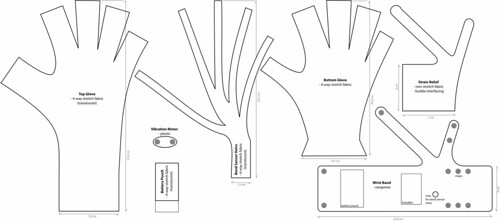
(Click on the illustration above for the original size)
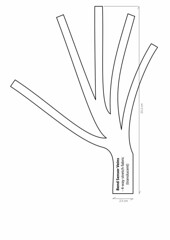
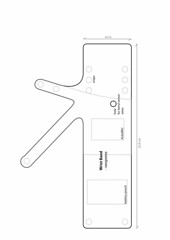
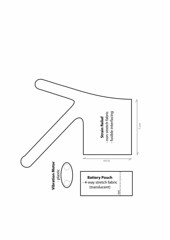
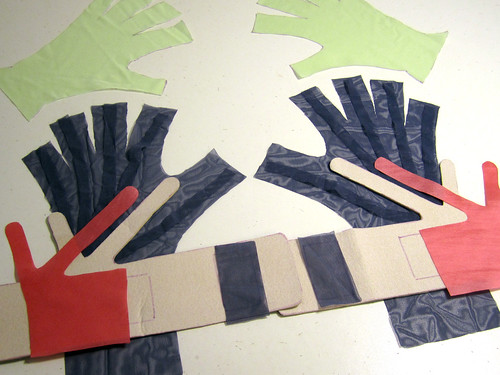
Individual patterns: Top Glove, Bottom Glove, Veins, Wrist Band, Bits
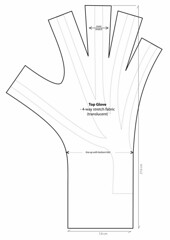
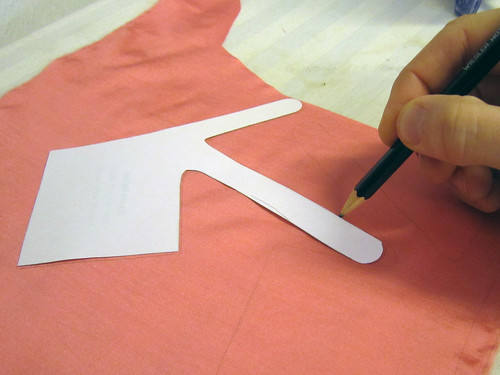
Use a fabric marker to trace the patterns to fabric so that the marks will disappear over time or can be washed off.
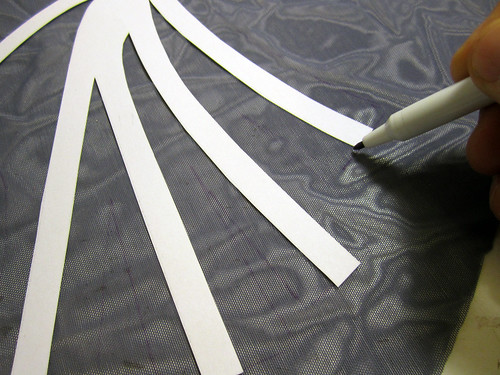
TIP: Before cutting out the top glove pattern, also trace the veins to this piece of fabric. It will make sewing the veins on to the right place much easier, and it is easier to trace before the fabric is cut out.
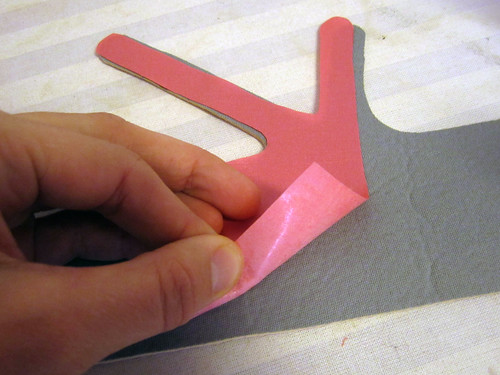
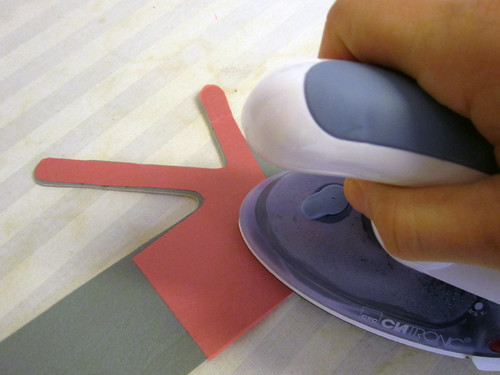
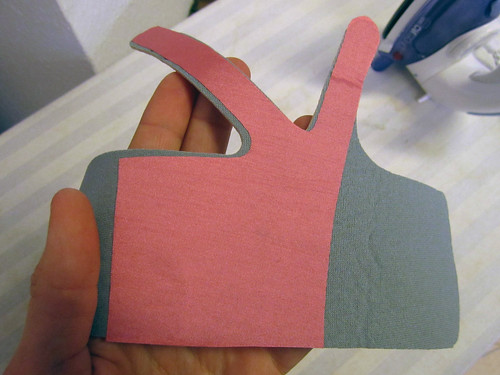
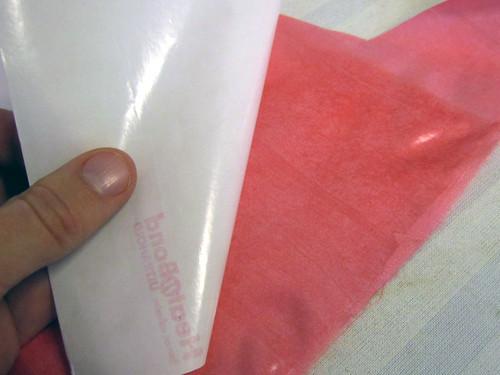
Before cutting out the Strain-releif stencil from non-stretch fabric, iron-on the fusible interfacing to the back. Instead you can also purchase fabric that already has fusible adhered to one side:
Lay the cut-out on the back of the neoprene wrist-band and iron it on: